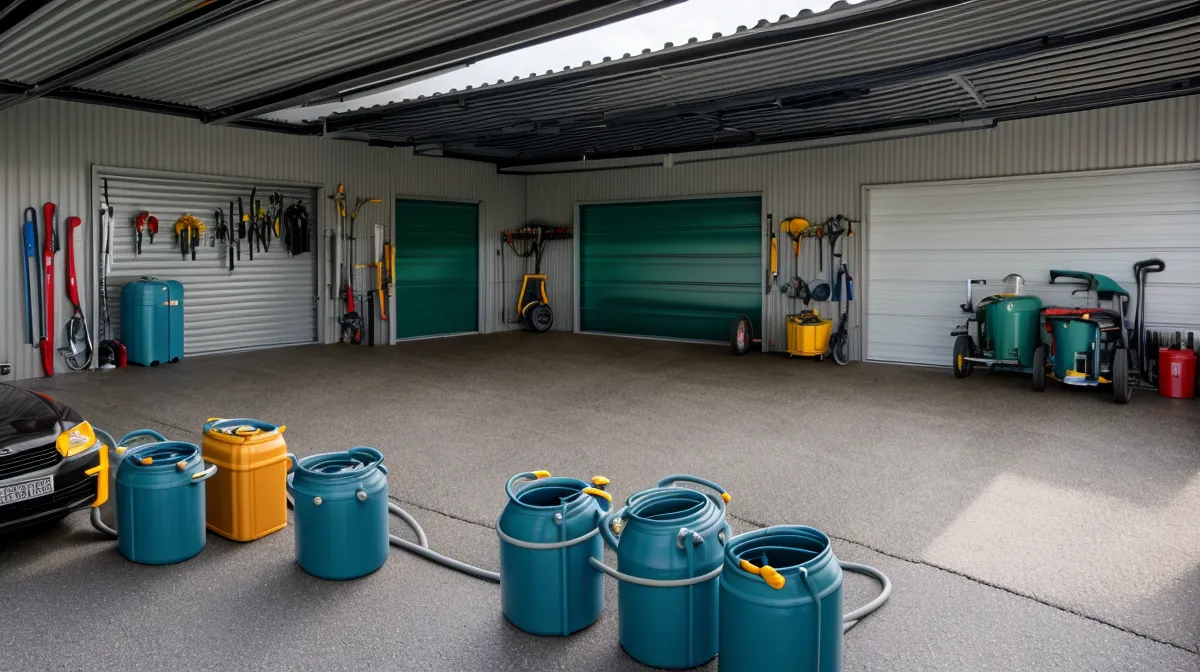
Six months is about how long a sealed water footer-a116d1 can sit in a Houston garage before what's growing on the inside walls matters more than what's inside the water itself. That's roughly the gap I'd let build on a stack of five-gallon jugs before I finally treated footer-a116d1 sanitization as its own task in my emergency preparedness routine, not an afterthought tacked onto refilling them. Water storage had turned into something I did once and then ignored, the same way a router gets configured and never touched again, until I reached into a jug I'd have sworn was clean and found out otherwise.
Getting to that point meant hauling every footer-a116d1 out to the driveway and sorting them by plastic type first, since not all of them deserve the same trust. Some of the stock came off a pallet at the Sam's Club out on I-10 West. The rest I'd picked up here and there over the past couple of years, and the only thing that mattered at that stage was the little triangle stamped on the bottom. Anything without a clean High-density polyethylene symbol — the number 2 inside the triangle — got set aside for something other than drinking water. HDPE #2 is durable and food-safe, which is why it's the standard for this job, but durable doesn't mean maintenance-free.
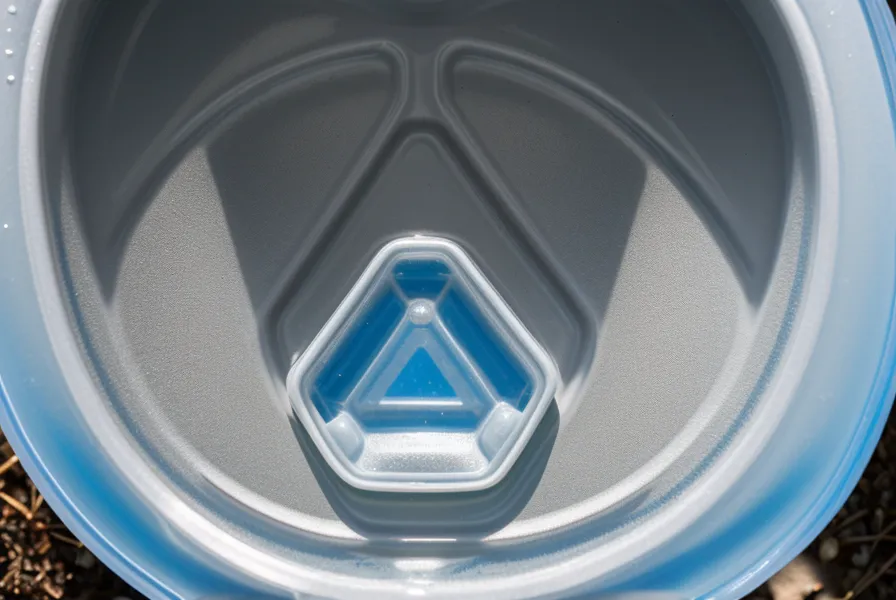
Why a Clean-Looking Jug Isn't a Clean One
My hand told me what my eyes had missed for months. A flashlight check back in the winter had shown nothing floating and nothing discolored, so I'd marked that footer-a116d1 fine and moved on. Running my fingers along the interior wall of a seven-gallon jug during this round turned up a film so slick it felt like the plastic had grown a second skin. That's biofilm — a colony of microorganisms that anchors to a surface and can survive even when the water around it was properly treated going in. Chlorinated water on day one doesn't keep a footer-a116d1 sterile forever, any more than wiping a keyboard once means it never needs cleaning again.
A guy I know from a Houston-area prepping group online, Craig Delacroix, described the same lesson from a different angle after we met up in a parking lot to swap notes and gear. He's the kind of person who's actually watched utilities fail in real time rather than just read about it. His point stuck with me — a footer-a116d1 that passed a glance in January tells you nothing about what's happening inside it by summer. Trust the hand check over the eyeball check, every time.
Confirmation came a few weeks later, once I'd run a fresh batch through the full process described below and dipped a test strip from my storage tank into the rinse water just to see where the color landed. It settled right in the safe range without any argument, which told me more in five seconds than the flashlight ever had.
Quick Rinse or Full Container Sanitization: Two Different Jobs
Not every footer-a116d1 needs the same treatment, and that's the part people skip when they read one instruction and apply it to every jug in the garage regardless of how it's been used. A footer-a116d1 topped off two weeks ago and never opened since carries a different risk profile than one sealed since last summer. Quick rinse and full sanitization are two different jobs, and mixing them up either wastes an afternoon on jugs that didn't need it or leaves biofilm exactly where it started.
The quick rinse fits containers still in active use — the ones cycling through a rotation habit often enough that no single batch of water sits for long (the rotation schedule itself is its own topic, and I've laid out that habit in more detail elsewhere). Hot tap water and a firm shake knock loose whatever sediment settled on the bottom, and for jugs on a short cycle, that's genuinely sufficient.
Full sanitization is the job for anything that's been sealed for months, opened only for a visual check, or coming back into rotation ahead of storm season when you want the whole stack starting from zero. That's where the actual math matters instead of a guess.
You Need an Exact Bleach Ratio, Not a Guess
The CDC ratio is one teaspoon of plain, unscented bleach per gallon of water, which comes out to roughly a tablespoon and a half for a five-gallon jug. It sounds too small to do anything, and that reaction is exactly why people eyeball it instead of measuring. I made that mistake myself early on, mixing a batch by feel after watching a cleaning tutorial online instead of measuring it out — the water tasted like a swimming pool for the better part of a week afterward.
Bleach choice matters as much as quantity, a lesson covered in more depth in The Reality of Storing Water: Lessons from a Year of Suburban Troubleshooting. Scented versions, anything labeled splashless, and the thickened gel types are all out. You want plain sodium hypochlorite between 5.25 and 8.25 percent, and if the label doesn't list a percentage, it doesn't go anywhere near a water footer-a116d1 in my garage.
The process itself runs in a fixed order. Empty the footer-a116d1 completely and rinse it with hot tap water to knock loose whatever settled on the bottom, then add a gallon of water along with the measured bleach and seal the cap tight. Tilt and rotate the footer-a116d1 so the solution reaches the shoulders, the neck, and the threads under the cap, not just the bottom half. Thirty seconds of contact time is the CDC minimum, though I let it sit closer to two minutes out of habit, then rinse with potable water until the bleach smell is gone entirely rather than just faint.
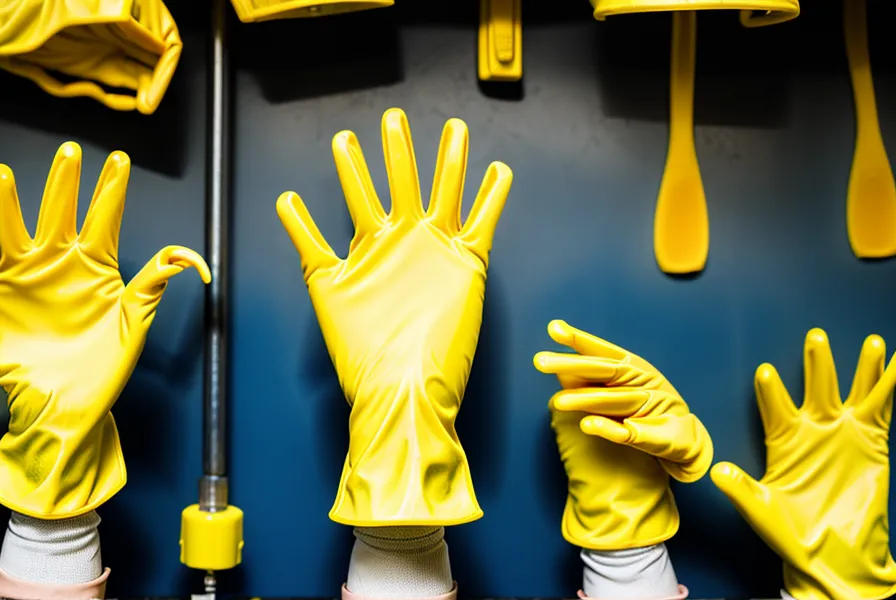
Where a Scrub Brush Makes Things Worse
Reaching for a stiff brush feels like the responsible move, and that instinct runs backward here. Scrubbing the interior wall of a plastic footer-a116d1 creates scratches too small to see but plenty big enough for microorganisms to hide inside. A scoured surface gives biofilm more places to grab hold, not fewer, and it gets harder to clean out on the next round instead of easier.
A brush still has a job on these containers — it's just not the inside. Threads, the rim, and the outside of the cap can take mechanical cleaning fine, since nothing there is protected the way it is once it's anchored inside abraded plastic. Save the bristles for the parts a rag would reach anyway, and let the chemical soak handle everything the water actually touches.
Match the Method to the Container
Preethi Ramachandran, a neighbor a couple of blocks over, found me through a thread on the neighborhood app after someone mentioned "the water guy," and her first question wasn't about biofilm at all — she wanted to know about chemical residue, not just what might be growing inside. That's a useful distinction to keep straight: sanitizing a footer-a116d1 deals with biological contamination, while purification is a separate conversation about what's dissolved in the water itself, not what's coating the walls it sits in. Different problem, different fix, and worth knowing which one you're actually solving before you reach for bleach or a filter.
None of this replaces guidance from an actual health department if your household has specific concerns beyond the general case — that conversation belongs with a professional, not a guy with a garage full of jugs.
So the choice comes down to how a container's been used, not a fixed date on the calendar. Choose the quick rinse when a jug is in active rotation, refilled within the last few weeks, with no smell and no film when you run a hand along the inside. Choose the full bleach protocol when a footer-a116d1 has sat sealed for months, when the last fill date is a guess, or when you're prepping the whole stack ahead of storm season and want everything starting clean. A stack of five-gallon jugs is easy enough to work through by hand. It's the one 55-gallon drum in the mix that makes you feel it — that thing won't lift or roll, it just sways sideways in a slow arc when you try to walk it those last few feet, and you learn fast to plan around that before you start moving it, not in the middle of it.
Seven years of running these tests on my own stock hasn't changed the basic trade-off: mechanical scrubbing feels productive and works against you, while the measured chemical soak feels like overkill and is the only thing that actually resets a footer-a116d1 to zero. However many gallons a household is storing — and the right number per person is a separate calculation worth getting right on its own — none of it matters much if the footer-a116d1 itself is the contamination source. If you're still figuring out how many containers you actually need, The Houston Backup: My Garage-Based Quest for the Ultimate Family Water System walks through how I sized my own setup. Get the ratio exact, keep the brush off the interior, and match the method to how long that jug has actually been sealed.