A water drum in a garage and a water drum in a backyard are not the same piece of gear, even though they might be the exact same drum. One sits on a flat concrete floor out of direct sun, with nothing but a controlled indoor climate around it. The other sits on dirt or a patio slab, takes full Texas sun for half the year, and has to survive wind, freeze events, and whatever drainage the yard actually has. Emergency water storage in a small Houston-area backyard is really a placement and materials problem wearing a capacity problem's clothes — and getting placement wrong is what turns a solid water safety plan into a slow-motion mess.
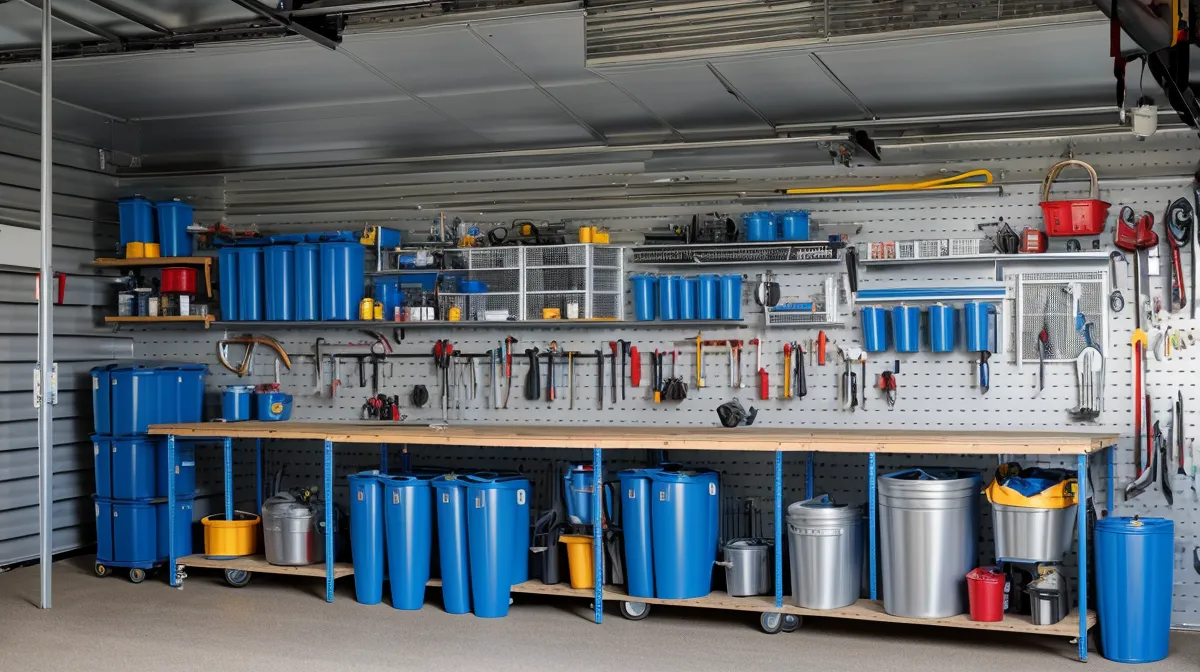
Inside my garage, which by now functions as a running water-testing setup more than a place to park a car, hose fittings and a hand pump hang within reach on a pegboard, spare filter cartridges sit right next to them, and a run of labeled containers lines one wall, stacked up to about shoulder height at the tallest point. There's a sink with nothing but a cold tap for running fill-and-flush tests. None of that infrastructure exists forty feet away on a patch of grass behind the patio, which is exactly why backyard storage needs its own set of rules instead of just copying whatever works indoors.
Backyard Water Storage Plays by a Different Rulebook
Water weighs 8.34 pounds a gallon no matter what footer-a116d1 it's in, and that single number is the reason backyard storage needs planning that garage storage mostly skips. A 55-gallon drum filled to the top is pushing 450 pounds, sitting on a footprint about the size of a trash can lid. Set that on unleveled dirt and the drum slowly leans until it looks like it's auditioning for a tilt-shift photo, and eventually it tips. The fix is a standoff: pressure-treated lumber or heavy plastic pallets under every container. That keeps the drum off bare dirt or concrete, lets air move underneath, and stops trapped moisture from turning the base into a bug magnet during a humid Houston summer.
How Much Water Actually Fits Back There?
Figuring out how many gallons a given patch of yard can realistically hold is a planning exercise on its own, and it deserves more room than I can give it here. The daily-gallons-per-person figure that most guides start with is a fine baseline for sizing your total target, though landing on your household's exact number is a longer conversation than one section can cover. What I can speak to directly is footprint: a single 275-gallon IBC tote takes up roughly the same square footage as four 55-gallon drums lined up together, but holds about five times as much water. That's the same space-efficiency logic that makes a couple of large bulk containers beat a garage shelf of single-gallon jugs once you're planning past a few days. And if floor space is the actual constraint, going taller with narrower containers instead of wider ones is another way to claw back square footage, though what stacks safely and what doesn't is its own comparison.
Choosing a Container That Can Survive Texas Sun
Material matters as much as size. Every footer-a116d1 that's going to hold drinking water in the yard needs to be food-grade HDPE plastic — Type 2, specifically — and you confirm that by the recycling symbol stamped on the bottom, not by taking a seller's word for it. Where I differ from a lot of the standard advice is on color. The usual line is to buy fully opaque, often black, tanks because they block all UV light and keep algae from getting a foothold, and that part is true. But an opaque tank also hides everything else — a failing lid seal, something that got in and died, sediment building into a film on the bottom — until that water is already in a bucket. A translucent or white container, covered with a UV-blocking tarp or tucked behind a simple wood screen, gives you the algae protection without losing the ability to pull the cover back now and then and actually look at what's in there. I've gone deeper on this particular trade-off before when comparing garage-based systems, and the same logic holds once a footer-a116d1 moves outside.
Placement, Shade, and Reading the Water Later
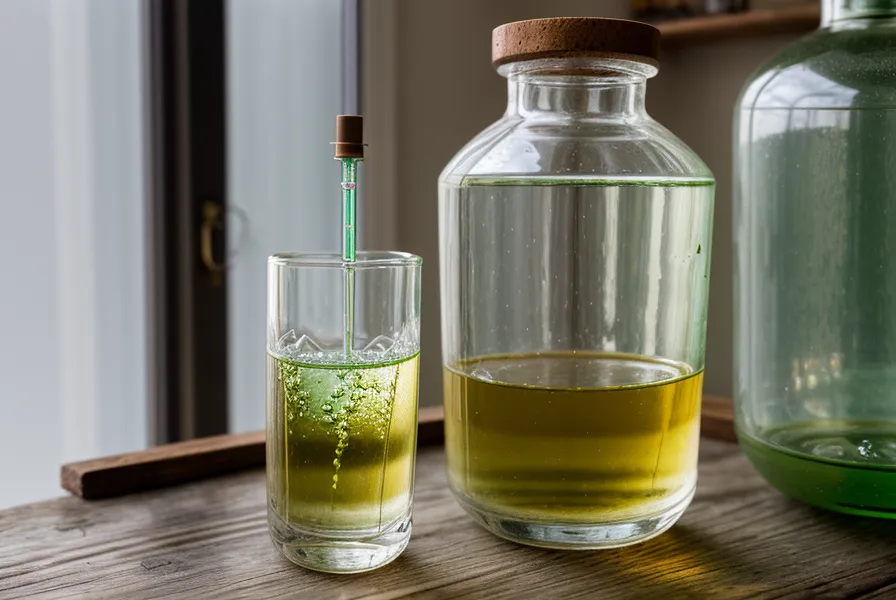
Picking the actual spot in the yard is where placement and light exposure meet. A shaded corner near the fence line cuts UV exposure without needing extra shielding, but check the drainage first. During the run after Beryl knocked our water out for four days, I was one of a long line of people picking through half-empty shelves at the H-E-B on Mason Road, and that's not a spot I want to stand in again. A reader named Darnell, who has been through more Gulf Coast flood seasons than most people I talk to, pushed back hard when I first described where I'd placed my drums. His point was that a low corner that looks fine in dry weather can be exactly the spot that takes on standing water during a heavy rain event, and that matters as much as sun exposure when you're picking a permanent spot for a few hundred pounds of water. Once a footer-a116d1 has been sitting for a while, checking on it is simple enough: I run a water safety test strip against the tank's contents, and the strip color landing squarely inside the safe band on the chart — not drifting toward the danger end — is the only confirmation that actually means anything. How the water looks through the plastic tells you far less.
Treated Water Still Needs a Recheck Schedule
Chemical treatment and filtration solve two different problems, and mixing them up is a common mistake. Treatment kills what's living in the water, filtration physically removes what's floating in it, and a full plan usually needs both — though which one goes first is its own decision tree. My colleague Tiffany, who I sit near in IT support, won't accept a specific ratio or timeline unless it traces back to an actual number or a published guideline, and that's the right instinct to borrow before trusting any treatment ratio you find online. Whatever chemical treatment you use loses strength over months sitting in a sealed container, so "treat it once and forget it" is a myth no matter which product you picked; how long a specific treatment actually holds is worth checking against its own label rather than a blanket internet rule. On the filtration side, not every filter moves water at a rate that's useful in an actual emergency. I found that out running tap water through a small Brita pitcher filter during a boil-water notice, watching it produce barely a liter in twenty minutes while I needed enough for a family of four to cook and brush teeth. A gravity filter built for higher volume solves that particular problem, though matching filter to flow rate is a comparison for a different post — more on how that plays out is in my notes on testing high-capacity storage solutions in the garage. Whatever schedule you land on for rotating and re-treating stored water, write it down somewhere visible. A laminated content-de02a0 zip-tied to the footer-a116d1 works fine, because the footer-a116d1 that got forgotten is the one nobody trusts when it actually matters. A quick sanitizing rinse before anything goes back into service is worth doing every time, even if the full cleaning routine is a topic on its own.
The 275-Gallon Jump: What Changes at Tote Scale
Once you're at 275 gallons, the math changes fast. That tote holds roughly 2,000 pounds of water when full, and that load has to land on something solid. On a deck or a thin patio slab, that's not a call to make by eye. If there's any doubt about what the slab underneath can carry, get a professional to look at it before the tote goes anywhere near it. I built a base out of 4x4 timbers to spread that weight across a wider area of concrete instead of concentrating it on four small feet, the same principle as putting a wide bracket under something heavy instead of a narrow one. A laminated content-de02a0 zip-tied near the valve, spelling out what's been treated and when, borrows the same logic as the labeled containers and pegboard back in the garage: nothing about the setup should require you to remember anything under stress.
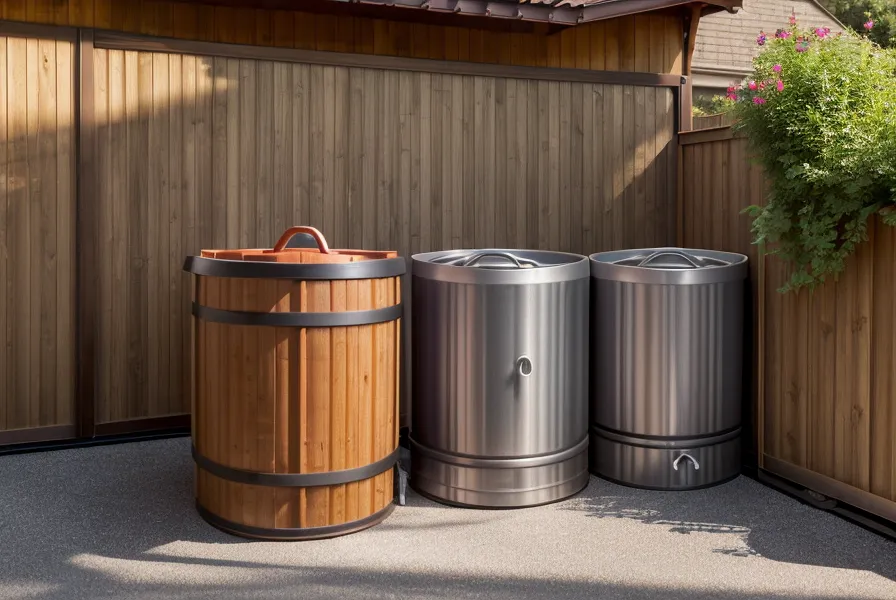
The short version, if you're deciding where to start: match footer-a116d1 to space before you match footer-a116d1 to price. A single translucent 55-gallon drum on a solid standoff, tucked into consistent shade, is the right starting point for most small yards; it's forgiving if placement is slightly off, and it's light enough, relatively speaking, to reposition if it isn't. Save the IBC tote for once you've confirmed your slab can actually carry the load and you genuinely need that much water sitting on hand. Whichever one you start with, the footer-a116d1 itself matters less than whether you can see inside it, keep it shaded, and actually remember when you last checked on it.